Preferences
How to Install Porcelain Tiles on a Floor: Step-by-Step Guide
You may think laying a porcelain tile floor on your own is impossible. But, once you learn how to do it properly, have the right tools and materials, and take your time, you can make this a great DIY project.
By installing your own porcelain tile floor, you can save a significant amount of money compared to hiring a professional to do so. You can either bank these savings to lighten your financial load, or use it to invest in high-quality tiles and materials for the job.
If you want to learn how to install porcelain tiles on a floor, follow our step-by-step guide below.
Getting Started: How to Prepare Your Floor for Porcelain Tile
The first step in working with porcelain floor tiles is preparing your floor. This involves figuring out what your floor is currently made of.
Plywood is best to lay the tiles on, whether you’re laying large floor tiles or small floor tiles. If you have particle board, you need to pull it up and replace it with solid plywood.
This will give you a solid base to lay the porcelain tiles onto. If you already have plywood in place, just inspect it to make sure there are no large dents, cracks or other imperfections, and that it’s attached solidly to the floor joists.
Once this is done, you’ll want to lay some backerboard down first. These should either be cement or fiberglass sheets, both of which will give you a solid subfloor to lay the tiles on.
The Tools You’ll Need
There are a few different tools that you’re going to need for the job. Whether you’re laying indoor tiles or porcelain outdoor tiles, these tools will be the same.
The tools you will need include a rubber mallet, a level, a tile cutter, tile spacers, thin-set mortar or some other mortar type, and a tile trowel.
The manufacturer of your porcelain tile will likely be able to advise you on the type of mortar, spacers and trowel size that are recommended to go with the product you purchased.
As far as tile cutters, you’ll have a few choices. For small jobs, a manual snap cutter will usually suffice. A wet tile saw is usually best for any job that is bigger and that will require multiple cuts.
It’s also a good idea to have a tile nipper on hand, as this will help you make difficult cuts such as those around pipes, corners and plumbing fixtures.
How to Choose the Right Adhesive
As mentioned before, the manufacturer of your specific porcelain tile should be able to recommend a type of mortar for you to use. In most cases, you’ll have two main choices — thin-set mortar and other products that might require additives.
Thin-set mortar is a good choice because it’s cement based. Other types of mortars might be “non-modified,” which means you’ll need to mix them with a polymer admixture that’s typically latex.
Thin-set mortar also comes in two types. You can purchase a ready-to-use version, which can be used right out of the packaging, or a dry version. If you go with the dry version — which is usually less expensive and also comes in bigger packages — you’ll just need to mix it with water before you use it.
For this, it’s a good idea to have a five-gallon bucket and a power drill with a mixer attachment on it. Once you’ve combined the water and dry water with the mixing paddle, just let it sit for about 10 minutes before using so that the chemicals will fully activate.
Other Preparation Before You Lay the Tile
There are a few more things that you might need to do before you lay the porcelain tile. It’s important that the surface you’re laying it on is very smooth and level.
You might need to use some type of leveling compound, which will help to even out any holes, divots or other differences in the heights of the subfloor. If you skip this step, it’s very likely that your porcelain tiles will eventually crack.
Different Installation Techniques for Porcelain Tile
There are a few different ways you can install porcelain tile.
Before you install it, though, it’s always a good idea to lay out the pattern on the floor to make sure you have it just right. This can be a little tricky if you choose a tile that has an odd or intricate shape, or has intricate design. Make sure that you match everything up to form a cohesive look once it’s installed.
Typically speaking, you’ll want to apply the mortar to the floor and then lay the tile on top of it. You could also put mortar on the back of each individual tile and then put them on the floor, but this may take longer and be more difficult depending on the size of the room and the size of the individual tiles.
Using your tile trowel, take some of the mortar out of the bucket and lay it on the ground with the smooth part. Then, use the notched edge side of the trowel and run it down the floor lightly.
The goal here is to put the notches in the mortar that’s laid on the floor and not actually pull up the mortar.
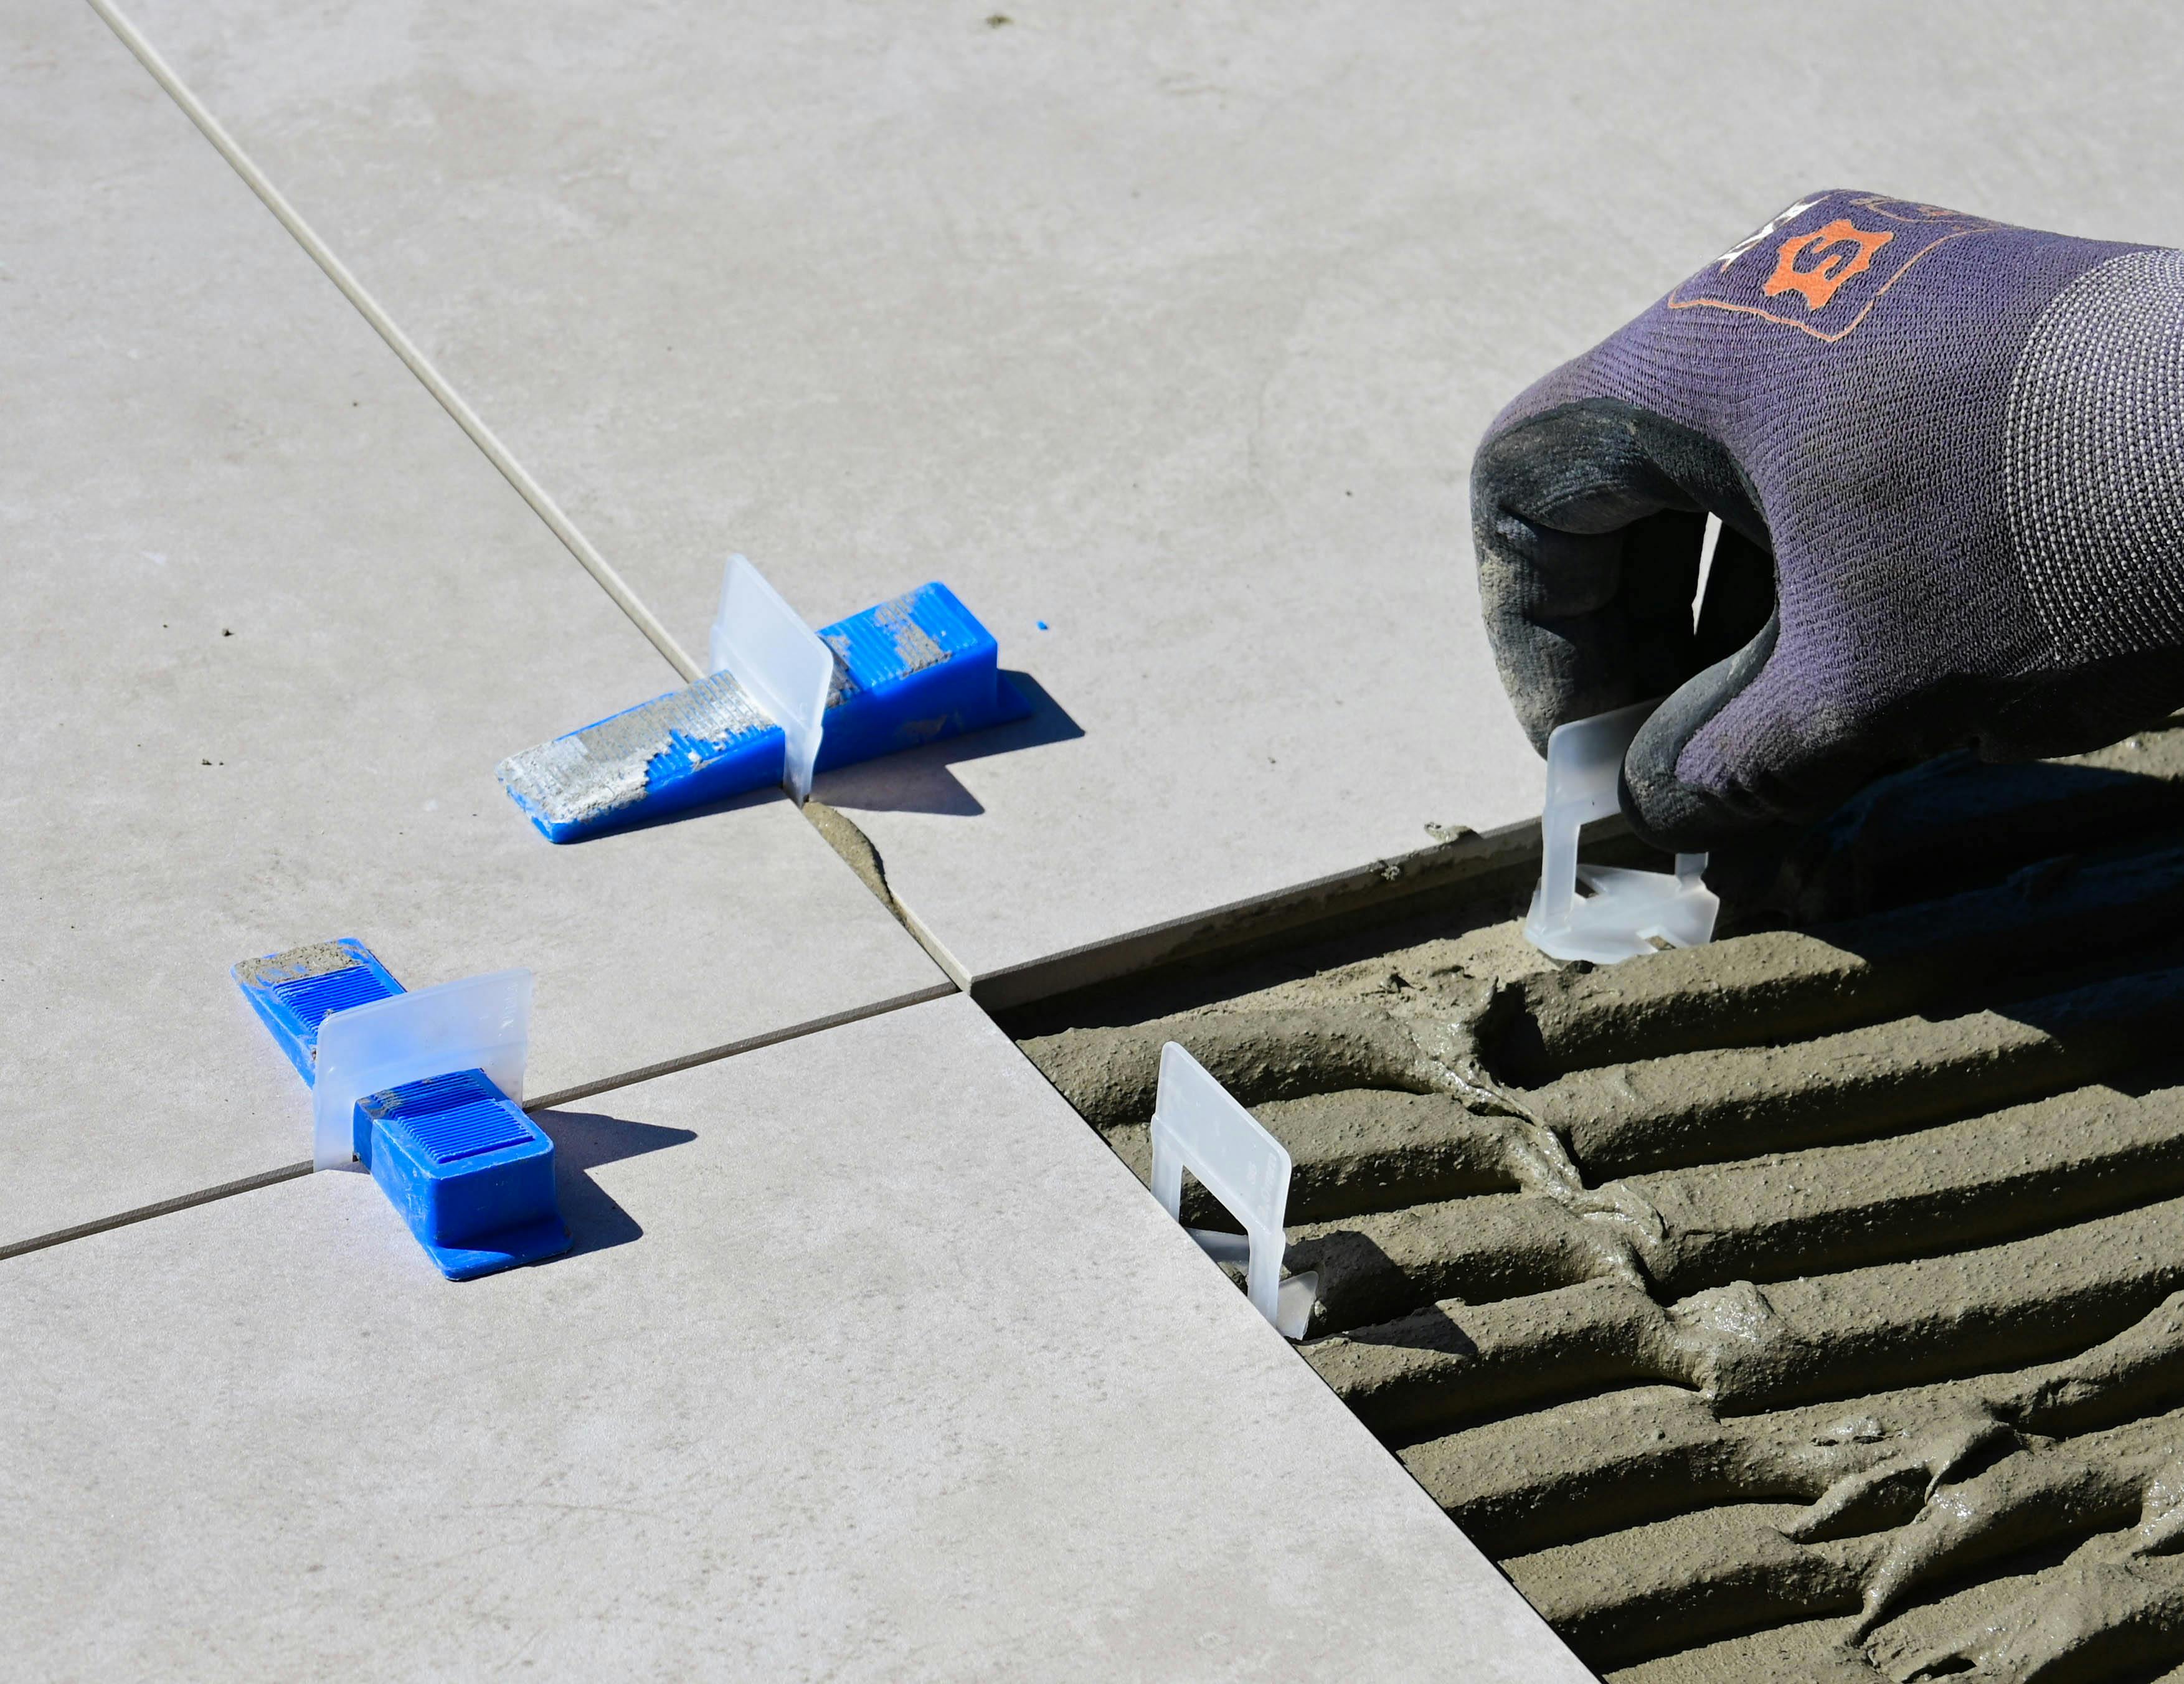
Next, lay the tiles flat on the ground using mild pressure. Slide it back about a quarter inch against the ridges of the thin-set and then slide it back into its place.
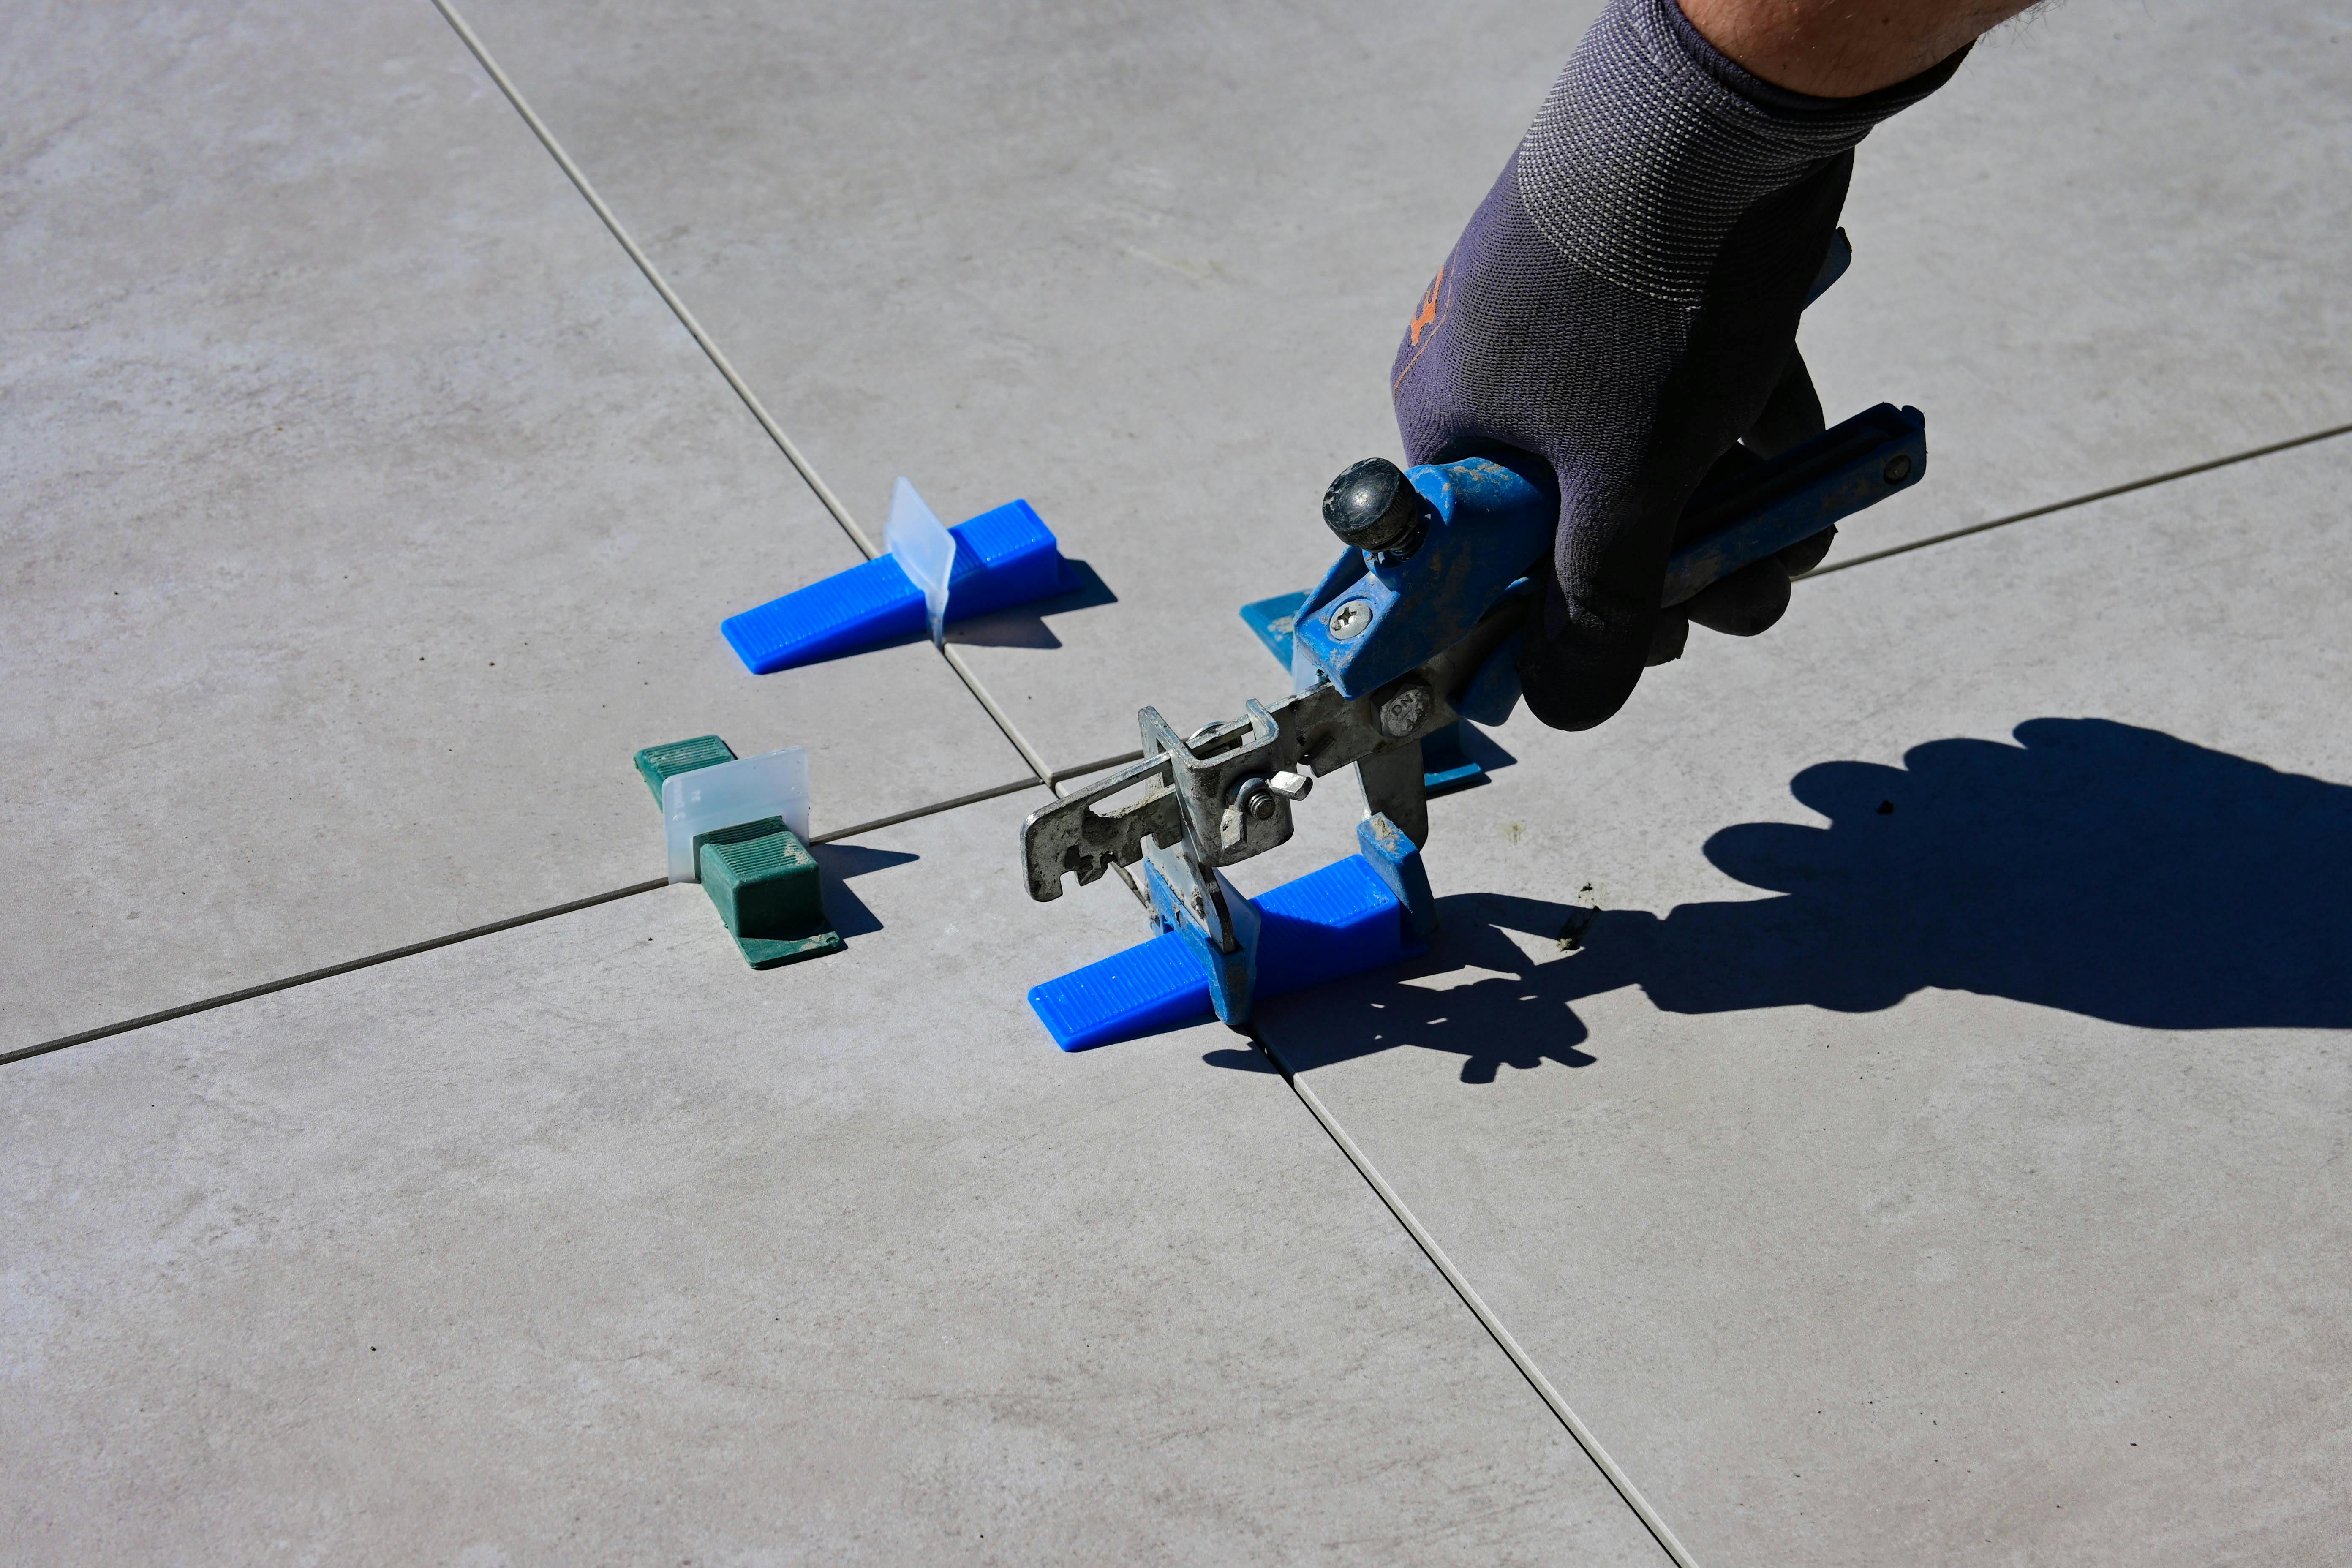
Place spacers on the side where you will add another tile. These spacers will ensure that there is equal spacing between all tiles on the floor. Ensure that these spacers are in the right position — up and out — and not on their sides.
Then, repeat the process with the next tile on the other side of the spacers, doing this over and over again until all the tile is laid. As you lay the tile, also make sure that everything is level.
Grouting and Sealing Porcelain Tiles
Once all your tile is laid, it’s best to keep it where it is to set for at least one day. This will ensure that the adhesive is sufficiently dry and cured.
When that time has passed, you’ll want to add grout to seal in the gaps between the tiles. First, take out all the spacers, being careful not to move the tiles.
Then, put some grout in a small portion of the floor, and spread it out over the tiles using a rubber float, making sure that you’re pressing the grout into these joints.
Skim any excess grout away from the tile with the same rubber float. You’ll likely see a haze over your tiles at this point, and that’s OK.
After you let the grout settle a few minutes, use a damp cloth or sponge and remove this haze from on top of the tiles. Make sure that you aren’t pressing hard on the joints.
For the joints up against walls, you can use waterproof caulk instead of using grout. This will help to keep everything in place in what are called the expansion joints.
Finally, you’ll want to seal the grout with a sealant. Make sure to only apply this over the grout, though, especially if you have glazed porcelain tiles. The best way to do this might be with a small paint brush. While it’s monotonous and takes a long time, it will make sure you don’t get any sealant on the tile itself.
Caring for Newly Installed Porcelain Tile
If you can, let your new porcelain tile floor settle for about a week before you do any mopping. Once this time has passed, use some water and maybe a mild detergent mixture to mop over the entire floor to remove any remaining grout haze or other materials that were left behind.
While doing a DIY porcelain tile floor might have sounded challenging, you can do it if you follow the steps above.